
JOSM Background Layer
Now that we can find missing roads with the plan developed in Finding Errors it is time to move on to aligning the roads.
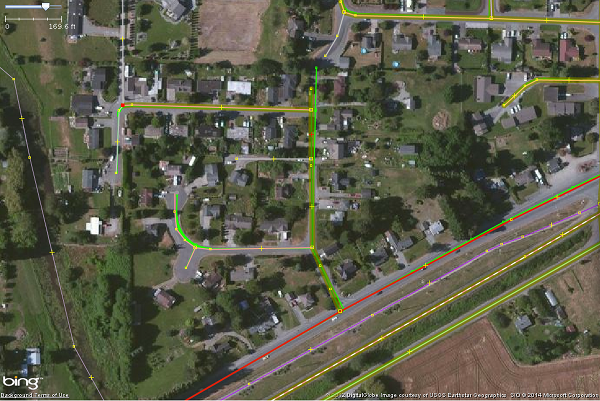
Up until now, the easiest way was to convert the roads shapefile into an .osm layer for JOSM. As the image below shows, aligning roads using Bing Imagery and the .osm layer works just fine. Until you want to check road name. The .osm layer doesn’t display the name or any other attribute for that matter.
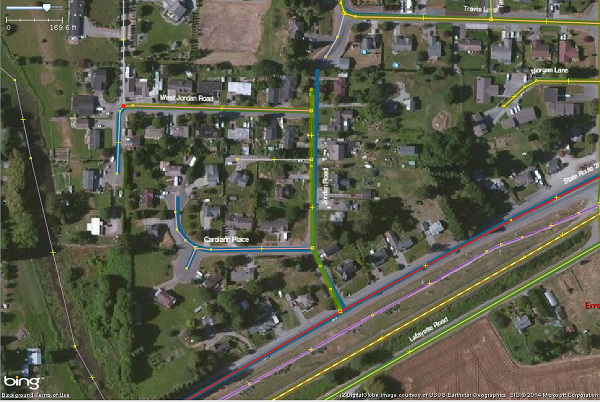
Using a tile background solves that problem. Looking at the image below, the road name is displayed along side for easy comparison to OSM data.
Here is what is needed to create your own backgrounds for JOSM.
- TileMill for creating tiles
- TileStream for serving up the tiles
- POSTGIS connection to road data
Check out TileMill documentation for help installing and creating tiles.
#skagitroads {
  		line-width:5;
  		line-color:#00ff00;
  		line-cap: round;
 	*/
	}
  	}
Tilestream was easy to install. My only hangup was to update Homebrew before starting.
TileMill’s default is to save the tiles in my ~/Documents/MapBox/export folder. Move the tiles.mbtiles file to ~/Documents/MapBox/tiles. You could create a symbolic link but I just moved the files.
Start Tilestream ./index.js
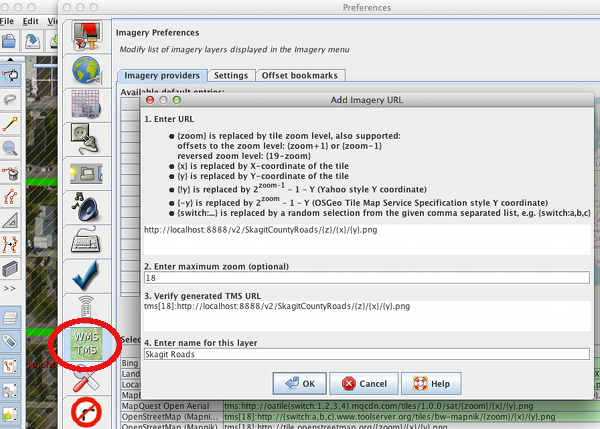
Open localhost:8888 in your browser to verify that everything is working. Select your new tiles. Once open, click on Info to get the tile URL to paste into JOSM.
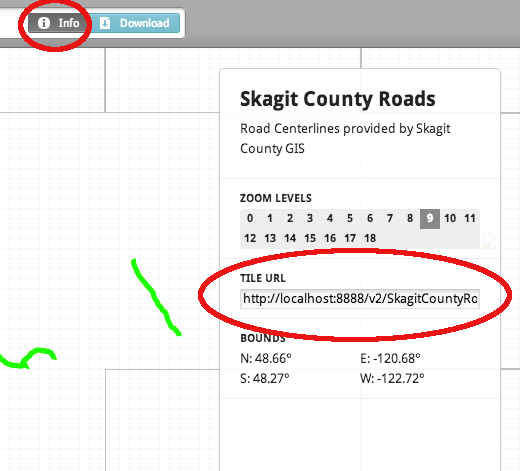
In this case the url is http://localhost:8888/v2/SkagitCountyRoads/{z}/{x}/{y}.png
Finally, enter the tile url into JOSM. Select the  icon to add your new tiles to JOSM.